Installing Ruby on Ubuntu 24.04
Install Ruby on Ubuntu 24.04 using rbenv, RVM, or APT, and switch between multiple Ruby versions on the same server.
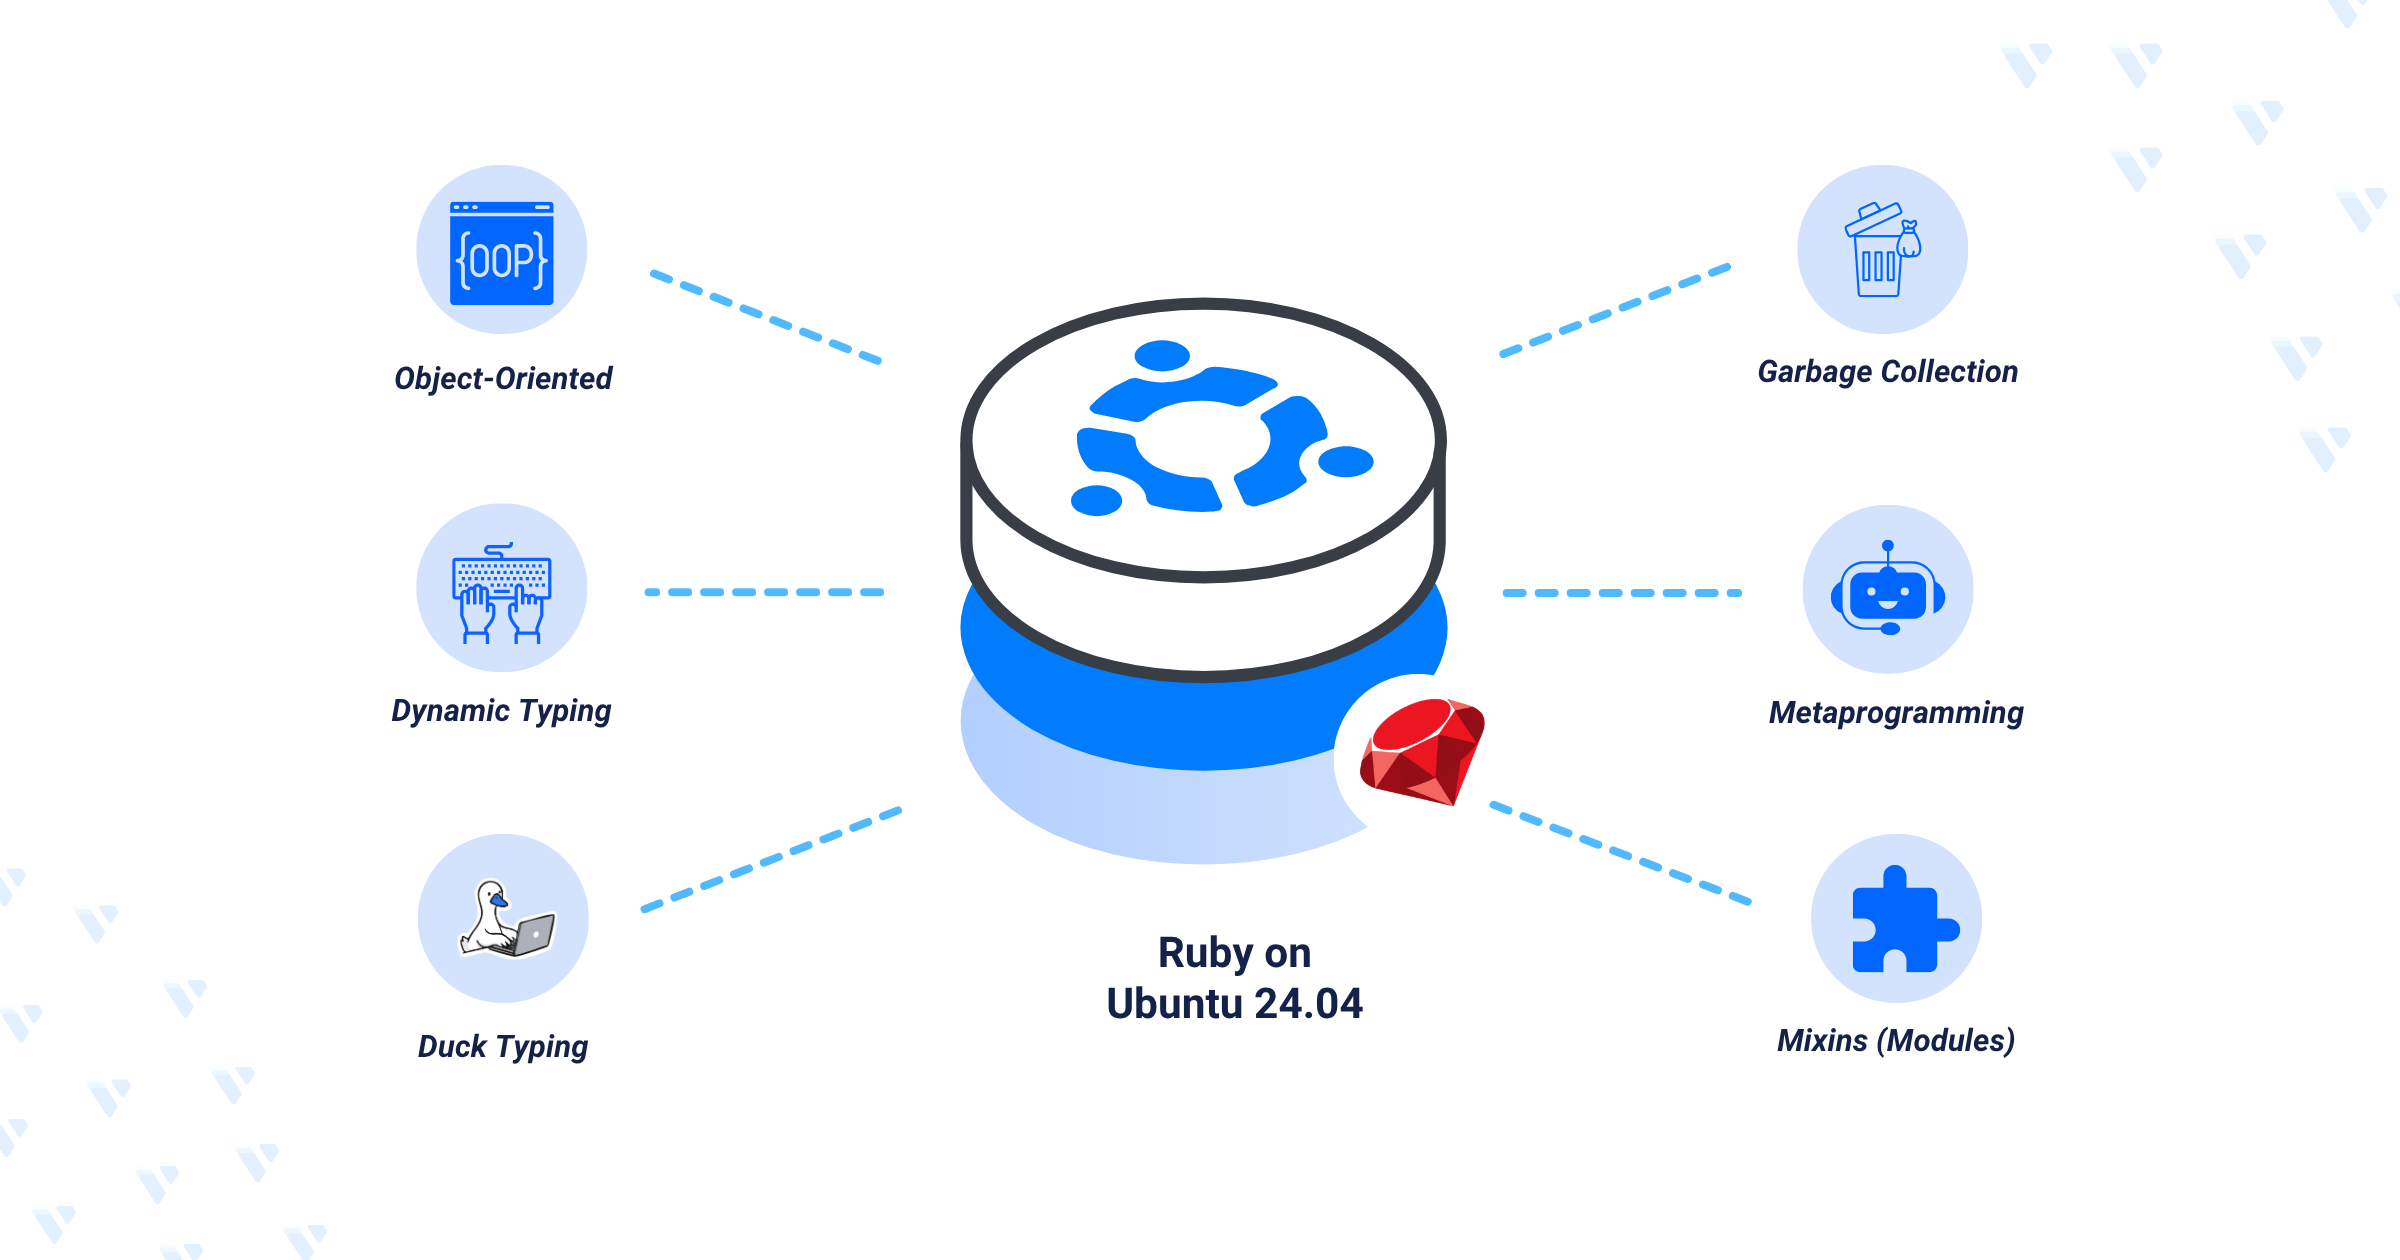
Ruby is a dynamic, object-oriented programming language perfect for creating basic scripts to complex web applications. It offers a modern syntax for productivity, runs with an interpreter instead of a compiler, and provides a wide range of frameworks for various projects. This guide covers installing Ruby on Ubuntu 24.04 using rbenv, RVM, and APT. By the end, you'll have a working Ruby installation, with the option to manage and switch between multiple Ruby versions on the same server, following Ruby environment setup practices documented in Vultr Docs.
Install Ruby Using rbenv
rbenv is a Ruby version manager that lets you install multiple versions of Ruby and switch between them.
1. Install all required dependencies for the ruby-build plugin to download and compile Ruby:
sudo apt install autoconf patch build-essential rustc libssl-dev libyaml-dev libreadline6-dev zlib1g-dev libgmp-dev libncurses5-dev libffi-dev libgdbm6 libgdbm-dev libdb-dev libtool uuid-dev
2. Install the latest rbenv installation script:
curl -fsSL https://github.com/rbenv/rbenv-installer/raw/HEAD/bin/rbenv-installer | bash
3. Add the rbenv path to the .bashrc file:
echo 'export PATH="$HOME/.rbenv/bin:$PATH"' >> ~/.bashrc
4. Reload the .bashrc shell configuration to apply the path changes in your active session:
source ~/.bashrc
5. View the installed rbenv version:
rbenv -v
Your output should be similar to the one below:
rbenv 1.3.0-9-gefeab7f
6. List all available Ruby versions you can install:
rbenv install -l
Note the target Ruby version in your output similar to the one below:
3.1.6
3.2.6
3.3.6
jruby-9.4.9.0
mruby-3.3.0
picoruby-3.0.0
truffleruby-24.1.1
truffleruby+graalvm-24.1.1

Only latest stable releases for each Ruby implementation are shown.
Use `rbenv install --list-all' to show all local versions.
7. Install your target Ruby version. For example, 3.3.6:
rbenv install 3.3.6
The installation process may take 3-5 minutes to complete depending on the available server resources.
8. Set the installed Ruby version as the default if the installation is successful:
rbenv global 3.3.6
9. View the installed Ruby version:
ruby --version
Your output should be similar to the one below:
ruby 3.3.6 (2024-11-05 revision 75015d4c1f) [x86_64-linux]
Install Ruby Using RVM
Ruby Version Manager (RVM), also known as Ruby environment manager, is a command-line tool used to install, manage, and work with multiple Ruby environments on a server.
1. Install the required GPG keys for RVM:
gpg --keyserver keyserver.ubuntu.com --recv-keys 409B6B1796C275462A1703113804BB82D39DC0E3 7D2BAF1CF37B13E2069D6956105BD0E739499BDB
2. Install RVM:
curl -sSL https://get.rvm.io | bash -s
3. Load RVM into your shell environment:
source ~/.rvm/scripts/rvm
4. List and install all the RVM system requirements:
rvm requirements
Enter your sudo user password when prompted to update the server's package index. Your output should be similar to the one below:
Checking requirements for ubuntu.
Installing requirements for ubuntu.
.....................
Installing required packages: autoconf, automake, bison, libffi-dev, libgdbm-dev, libsqlite3-dev, libtool, libyaml-dev, sqlite3, libgmp-dev, libncurses-dev, libreadline-dev, libssl-dev...............
Requirements installation successful.
5. View the installed RVM version:
rvm -v
Your output should be similar to the one below:
rvm 1.29.12-next (master) by Michal Papis, Piotr Kuczynski, Wayne E. Seguin [https://rvm.io]
6. List the available Ruby versions you can install:
rvm list known
Note the target Ruby version in your output similar to the one below:
# MRI Rubies
[ruby-]1.8.6[-p420]
[ruby-]1.8.7[-head] # security released on head
[ruby-]1.9.1[-p431]
[ruby-]1.9.2[-p330]
[ruby-]1.9.3[-p551]
[ruby-]2.0.0[-p648]
[ruby-]2.1[.10]
[ruby-]2.2[.10]
[ruby-]2.3[.8]
[ruby-]2.4[.10]
[ruby-]2.5[.9]
[ruby-]2.6[.10]
[ruby-]2.7[.8]
[ruby-]3.0[.7]
[ruby-]3.1[.5]
[ruby-]3.2[.6]
[ruby-]3[.3.6]
[ruby-]3.4[.0-preview1]
ruby-head
............
7. Install a specific Ruby version. For example, 3.3.6:
rvm install 3.3.6
8. Set the installed Ruby version as the default:
rvm --default use 3.3.6
9. View all installed Ruby versions:
rvm list
Your output should be similar to the one below:
=* ruby-3.3.6 [ x86_64 ]

# => - current
# =* - current && default
#  * - default
Install Ruby Using APT
Ruby is available in the default APT package manager repositories, but the included version is not the latest.
1. Update the server's package index:
sudo apt update
2. Install Ruby:
sudo apt install ruby-full
3. View the installed Ruby version:
ruby --version
Your output should be similar to the one below:
ruby 3.2.3 (2024-01-18 revision 52bb2ac0a6) [x86_64-linux-gnu]
Uninstall Ruby
1. Uninstall a specific Ruby version using rbenv. For example, 3.3.6:
rbenv uninstall 3.3.6
2. Remove a specific Ruby version using RVM:
rvm remove 3.3.6
3. Uninstall Ruby installed using APT:
sudo apt autoremove ruby-full
Next Steps
You now have Ruby installed on Ubuntu 24.04 using rbenv, RVM, and/or APT, with the ability to install and switch between multiple Ruby versions. From here, you can:
Install a Ruby framework such as Rails or Sinatra to start building web applications
Set a per-project Ruby version with a
.ruby-versionfile when using rbenv or RVMSet up
bundlerto manage gem dependencies for your projectsReview the RVM Documentation or rbenv Manual Page for advanced version management
For the full guide with additional tips, visit the original article on Vultr Docs.