Checking Disk Space and Usage in Linux
Use df, du, and find to check disk space, locate large files, and monitor Linux filesystem usage before a full disk causes problems.
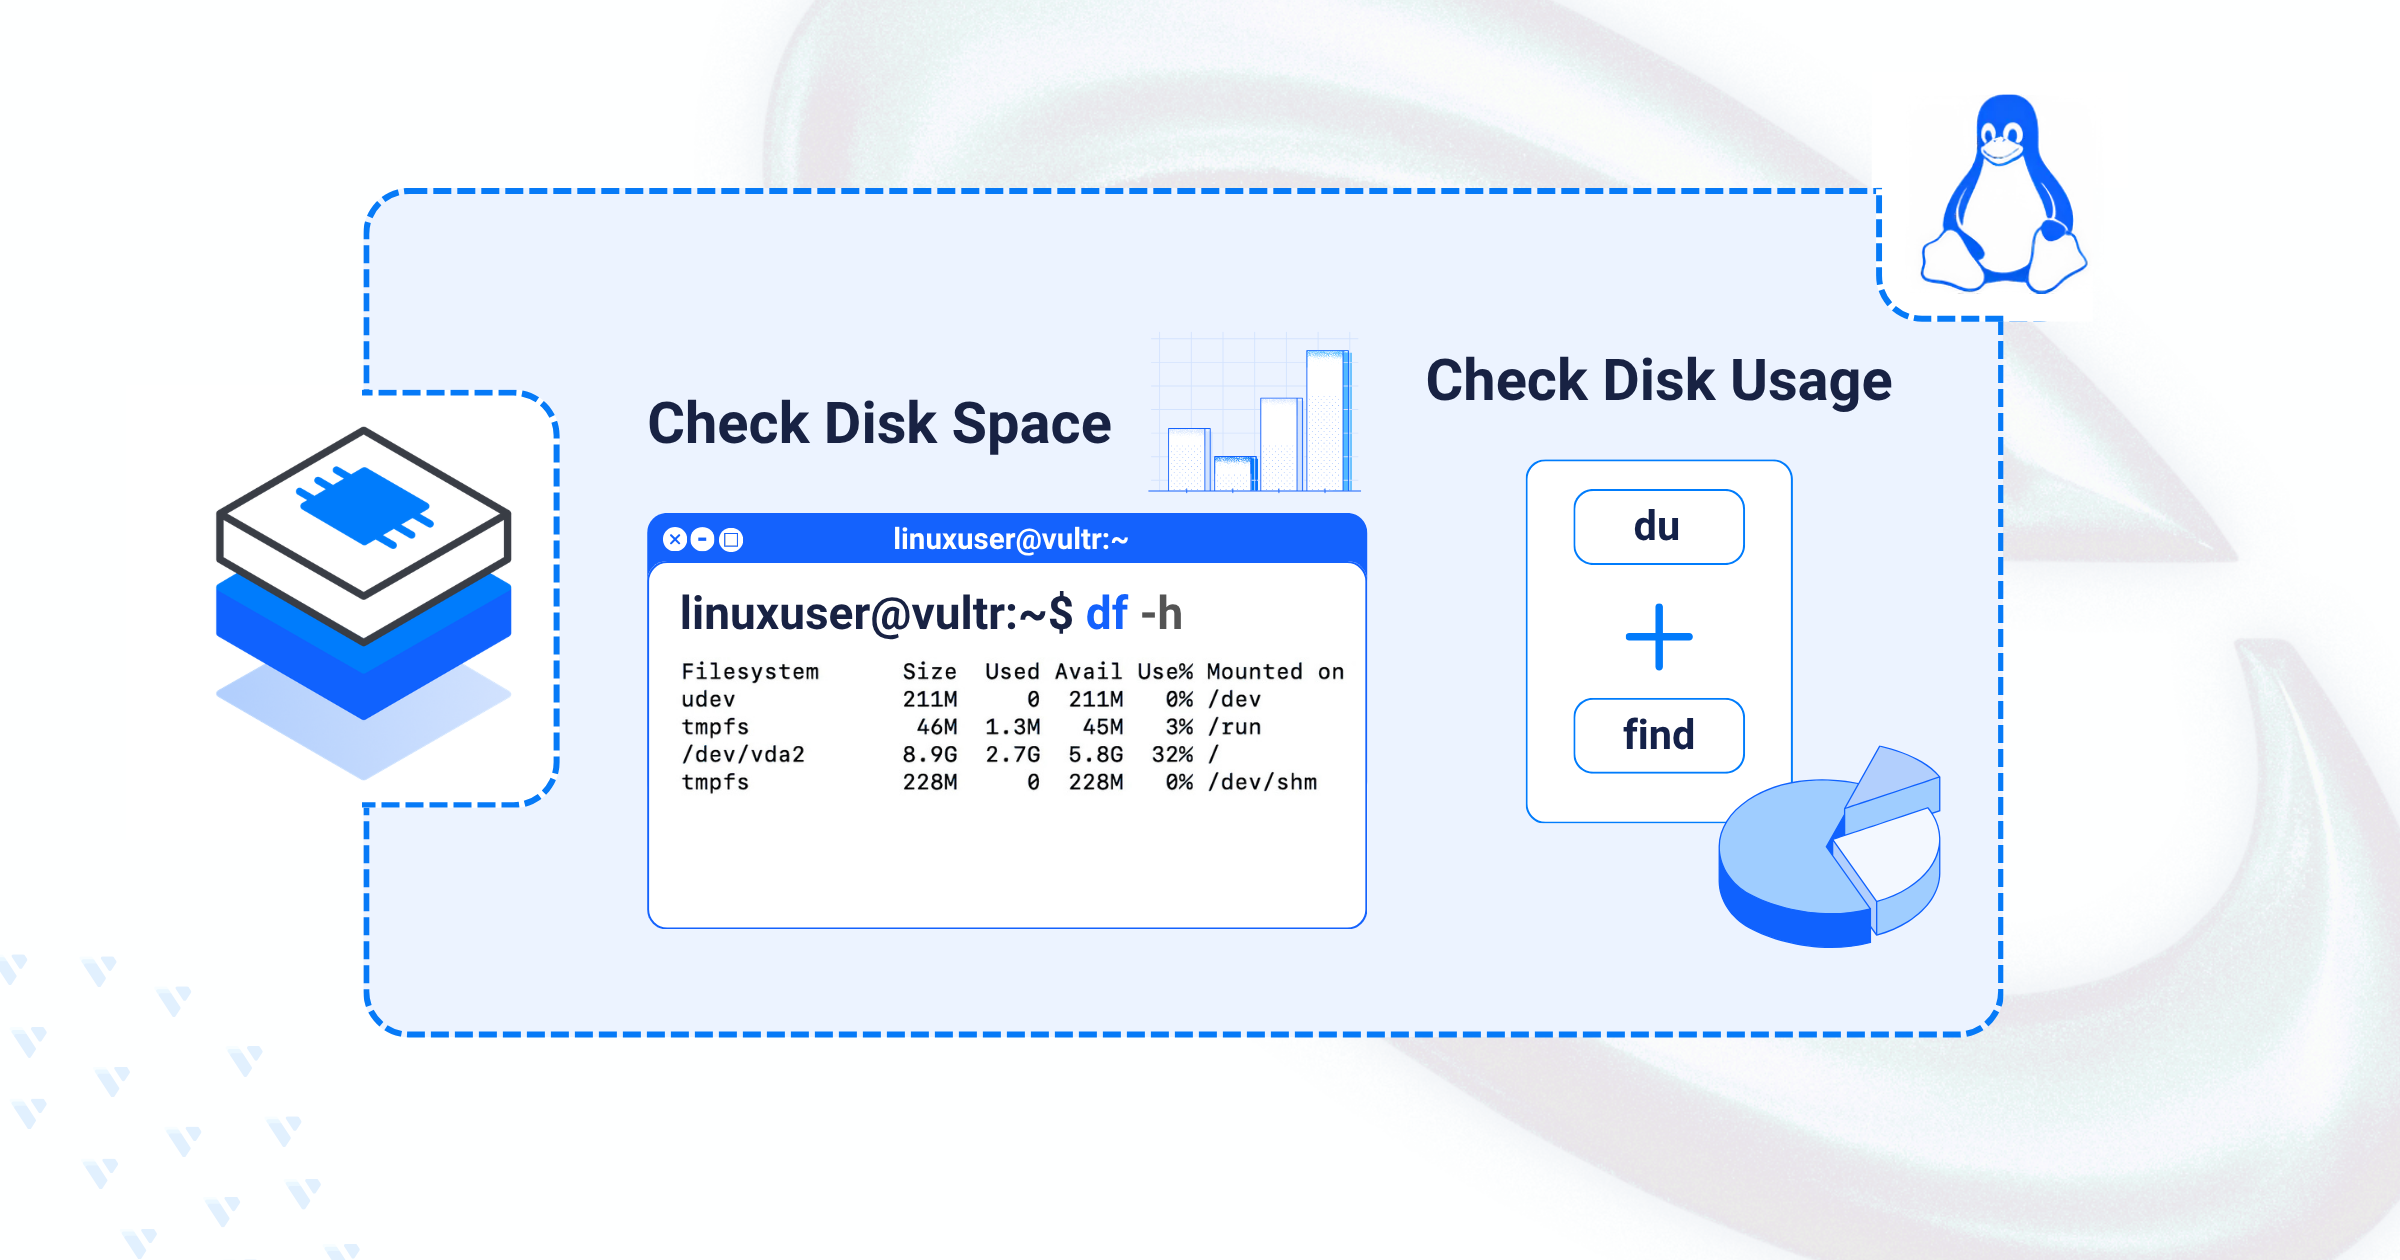
A full disk can degrade system performance, cause services to fail, and even prevent you from logging in or accessing essential directories, so keeping an eye on disk usage is a core part of running any Linux machine. Linux ships with built-in command-line tools — df, du, and find — that let you see how much storage is used, how much is available, and which files or directories are eating it up. This guide walks through practical examples of each tool so you can check disk space, analyze mounted file systems, and troubleshoot disk-related issues efficiently. By the end, you'll have a working set of commands for monitoring disk usage and tracking down large files on any Linux system, following Linux disk usage monitoring practices documented in Vultr Docs.
Commands to Check Disk Space and Usage
Linux includes several essential command-line tools that help monitor and manage disk space efficiently:
| Command | Description | Typical Use Case |
|---|---|---|
df |
Displays available and used disk space on mounted filesystems. | Get a high-level overview of all disk partitions. |
du |
Summarizes disk usage of directories and files. | Identify which directories are consuming the most space. |
find |
Searches for existing files and directories based on criteria such as size, name, type, or modification time. | Locate large or old files with specific flags like -size, -mtime, or -type. |
How to Check Disk Space with df
The df command provides a quick overview of disk usage across all mounted file systems. Use it to identify partitions with low free space and act before performance is degraded. The basic syntax is df [OPTION]... [FILE].... If you don't pass a file or directory, df displays the disk space for all mounted file systems.
1. Display the disk usage of all mounted file systems in a human-readable format:
df -h
Your output should be similar to the one below:
Filesystem      Size  Used Avail Use% Mounted on
...
/dev/vda2       150G   12G  132G   9% /
/dev/vda1       260M  7.1M  253M   3% /boot/efi
tmpfs           768M  4.0K  768M   1% /run/user/1000
/dev/vdb1        40G  1.1G   37G   3% /mnt
/dev/vdc1        40G  375M   40G   1% /home
In the output, Filesystem is the device or file system, Size is its total capacity, Used and Avail are consumed and free space, Use% is the percentage used, and Mounted on is where it's attached.
2. Check disk usage of a specific mount point, such as /mnt:
df -h /mnt
Your output should be similar to the one below:
Filesystem      Size  Used Avail Use% Mounted on
/dev/vdb1        40G  1.1G   37G   3% /mnt
3. Check disk space for a specific file system type, such as ext4:
df -h -t ext4
Your output should be similar to the one below:
Filesystem      Size  Used Avail Use% Mounted on
/dev/vda2       150G   12G  132G   9% /
/dev/vdb1        40G  1.1G   37G   3% /mnt
4. Exclude a file system type, such as tmpfs, from the output:
df -h -x tmpfs
Your output should be similar to the one below:
Filesystem      Size  Used Avail Use% Mounted on
...
/dev/vda2       150G   12G  132G   9% /
/dev/vda1       260M  7.1M  253M   3% /boot/efi
/dev/vdb1        40G  1.1G   37G   3% /mnt
/dev/vdc1        40G  375M   40G   1% /home
5. Include the type of each file system in the output:
df -hT
Your output should be similar to the one below:
Filesystem     Type      Size  Used Avail Use% Mounted on
...
tmpfs          tmpfs     1.5G   29M  1.5G   2% /run
/dev/vda2      ext4      150G   12G  132G   9% /
/dev/vda1      vfat      260M  7.1M  253M   3% /boot/efi
/dev/vdb1      ext4       40G  1.1G   37G   3% /mnt
/dev/vdc1      xfs        40G  375M   40G   1% /home
6. Display inode usage, useful for monitoring the number of files and directories:
df -i
Your output should be similar to the one below:
Filesystem       Inodes  IUsed    IFree IUse% Mounted on
...
/dev/vda2      41611680 123735 41487945    1% /
/dev/vdb1       2621440     12  2621428    1% /mnt
/dev/vdc1      20971008   2755 20968253    1% /home
Inodes is the total number of inodes on the file system, IUsed and IFree are used and free inodes, and IUse% is the percentage used.
How to Check Disk Usage with du
The du (disk usage) command estimates and displays the disk space used by files and directories, which helps you identify large files or directories that need cleaning up. The basic syntax is du [OPTION]... [FILE].... If you don't pass a file or directory, du shows usage for the current directory.
1. Check disk usage of a specific directory in a human-readable format:
sudo du -sh /path/to/directory
It's recommended to use sudo with this command, since some files or directories may require elevated permissions. Here, -s shows only the total (summary) and -h prints sizes in a human-readable format.
2. Include hidden files (those starting with a dot) in the disk usage report:
sudo du -ah /path/to/directory
The -a flag includes all files, not just directories, which is useful for finding the disk usage of hidden configuration files too.
3. Exclude certain files or directories from the calculation:
sudo du -ah --exclude='*.log' /path/to/directory
--exclude='*.log' excludes all files with the .log extension — useful for ignoring temporary or log files that aren't relevant to the analysis.
4. List the disk usage of top-level subdirectories within a directory, such as /var:
sudo du -h --max-depth=1 /var
Your output should be similar to the one below:
...
22M     /var/log
97M     /var/lib
4.0K    /var/yp
4.0K    /var/preserve
216M    /var
5. Sort the directories by disk usage, largest first:
sudo du -h --max-depth=1 /var | sort -rh
Your output should be similar to the one below:
216M    /var
97M     /var/lib
97M     /var/cache
22M     /var/log
...
6. Combine find with du to locate large files, such as files larger than 50MB within /var:
sudo find /var -type f -size +50M -exec ls -lh {} \;
Your output should be similar to the one below:
-rw-r--r--. 1 root root 65M May 6 20:29 /var/lib/rpm/rpmdb.sqlite
This command lists all files in /var larger than 50 MB, showing each file's size, permissions, and last modification date.
Next Steps
- Combine
du -h --max-depth=1 | sort -rhon other directories (like/homeor/var/log) to build a habit of auditing disk hogs before they become a problem. - Set up a cron job or monitoring alert that runs
df -hon a schedule and flags partitions above a usage threshold. - Pair
find ... -size +50Mwith-mtimeto clean up old large files safely instead of deleting indiscriminately. - Look into log rotation (
logrotate) if/var/logkeeps showing up as a top disk consumer.
For the full guide with additional tips, visit the original article on Vultr Docs.
About the authors
- A Developer Advocate with a focus on improving the developer experience through clear communication, technical enablement, and community engagement.
- DevOps Engineer with experience in Kubernetes, automation, cloud infrastructure, and observability. I work in Developer Relations, contribute to technical documentation, and collaborate on engineering-focused projects.
Comments
Join the discussionNo comments yet. Be the first to comment.